Add a WordPress Site
Objective
Connect your WordPress site to auto-post.io to automate the publication of AI-generated content.
Prerequisites
- Administrator access to your WordPress site
- Site URL (e.g.: https://mysite.com)
- HTTPS enabled (recommended)
Steps to add a site
1. Go to the "Websites" section in auto-post.io
- Log in to your auto-post.io dashboard
- Go to Websites
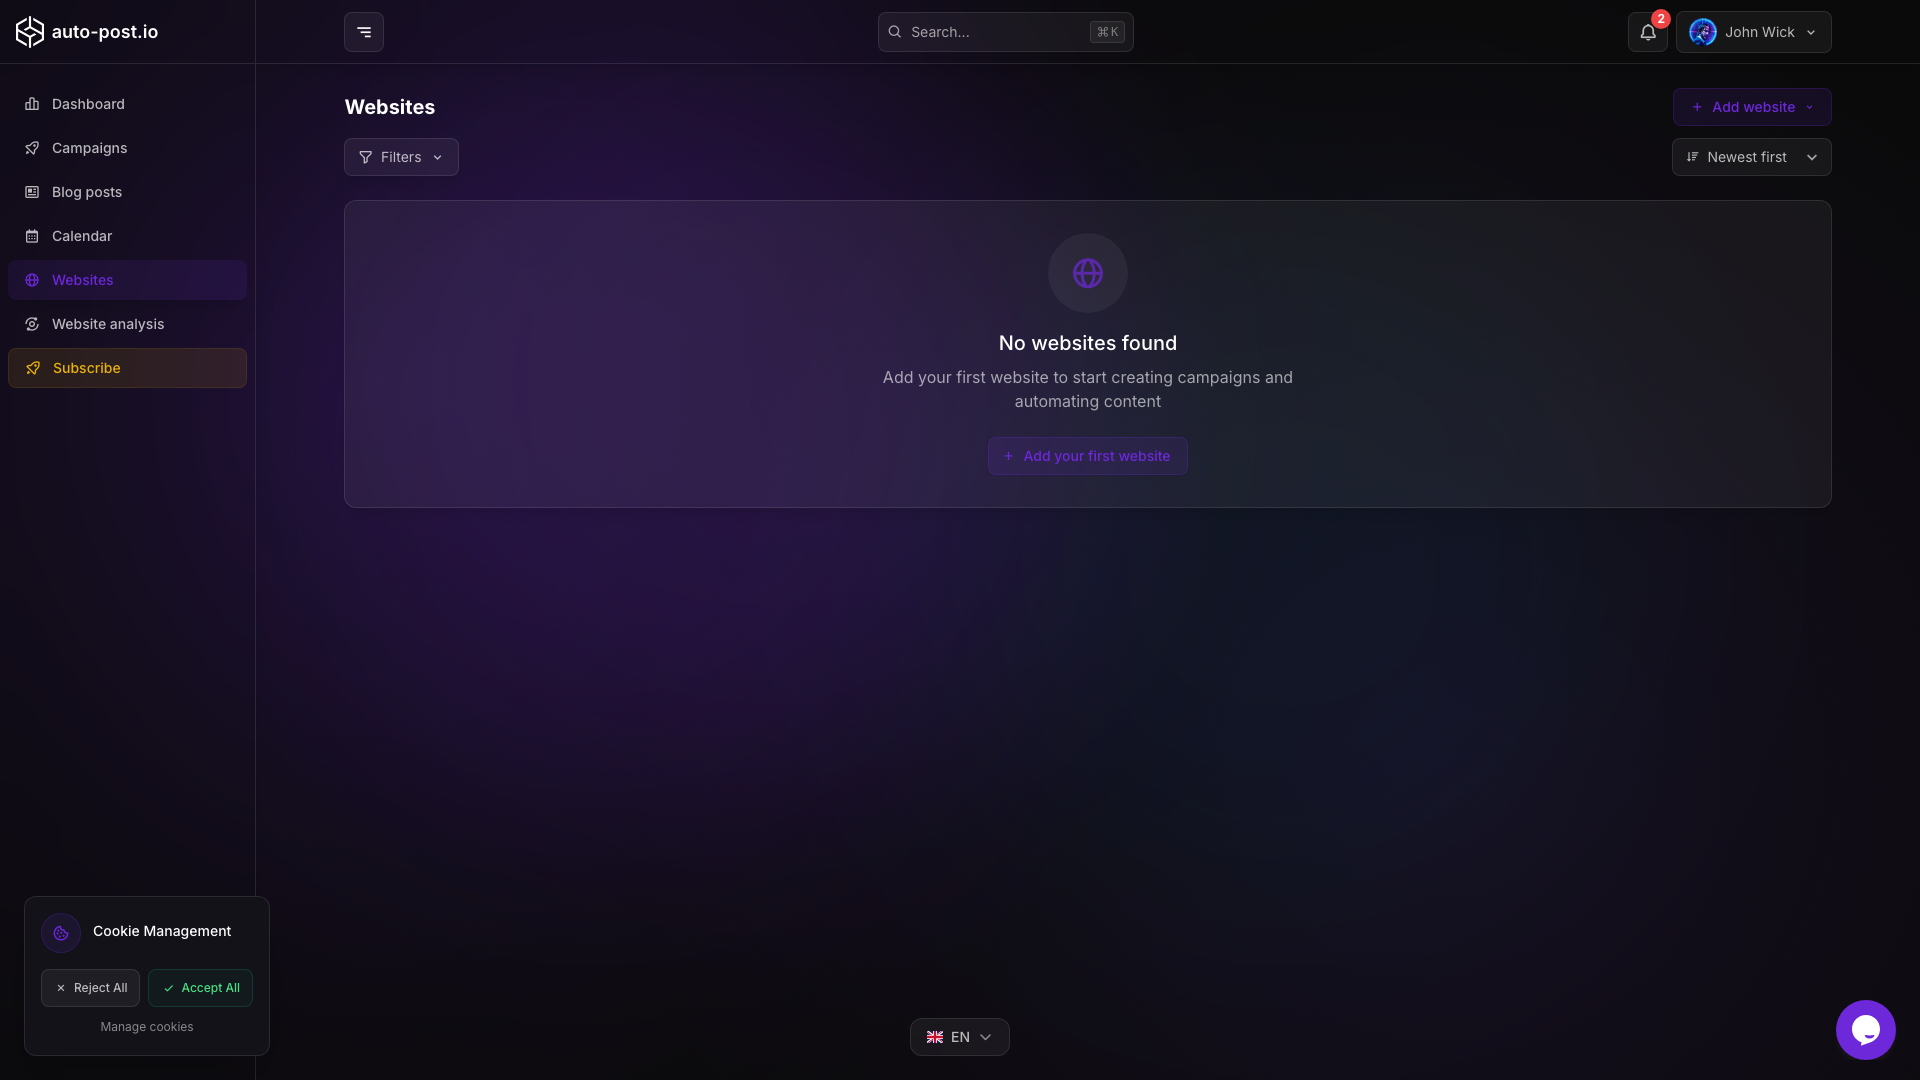
- Click on "Add a site" or "Connect" for your platform
2. Enter the site information
- Site name: Internal name for identification
- Site URL: Full link (https://...)
- Main language: French, English, or Spanish
3. (Optional) Install the auto-post.io plugin on WordPress
- Go to WordPress admin > Plugins > Add New
- Search for "auto-post.io" and install the official plugin
- Activate it
4. Generate a WordPress API key (or use the plugin)
- With plugin: The plugin connects automatically. Go to WordPress admin → auto-post.io → Connect to auto-post.io
- Without plugin: In WordPress, go to Users → API Keys → Create API Key, then copy the generated key
5. Set up the connection in auto-post.io
- Paste the API key in the dedicated field
- Click on "Test connection"
- If all is OK, the site will appear as "Connected"
Tips & Tricks
- HTTPS is required for security and REST API
- Permalinks enabled in WordPress (Settings > Permalinks)
- User roles: Only an admin can connect a site
- Multi-sites: Repeat the process for each site
Common issues
- Connection error? Check the URL, API key, and that the REST API is enabled
- Permission issue? Use a WordPress admin account
- Still stuck? See the FAQ or contact support
TIP
Once your site is connected, you can create campaigns and automatically publish your generated articles!