Quick start guide
Get started with auto-post.io in minutes. This guide walks you through account creation, login, and navigating the app.
Create an account
- Go to auto-post.io/register
- Sign up with Google or Microsoft, or use your email
- Agree to the Terms of use
- Start with 1,000 credits (no credit card required)
Log in
- Go to auto-post.io/login
- Sign in with Google, Microsoft, or your email and password
- Access your AI-powered content automation dashboard
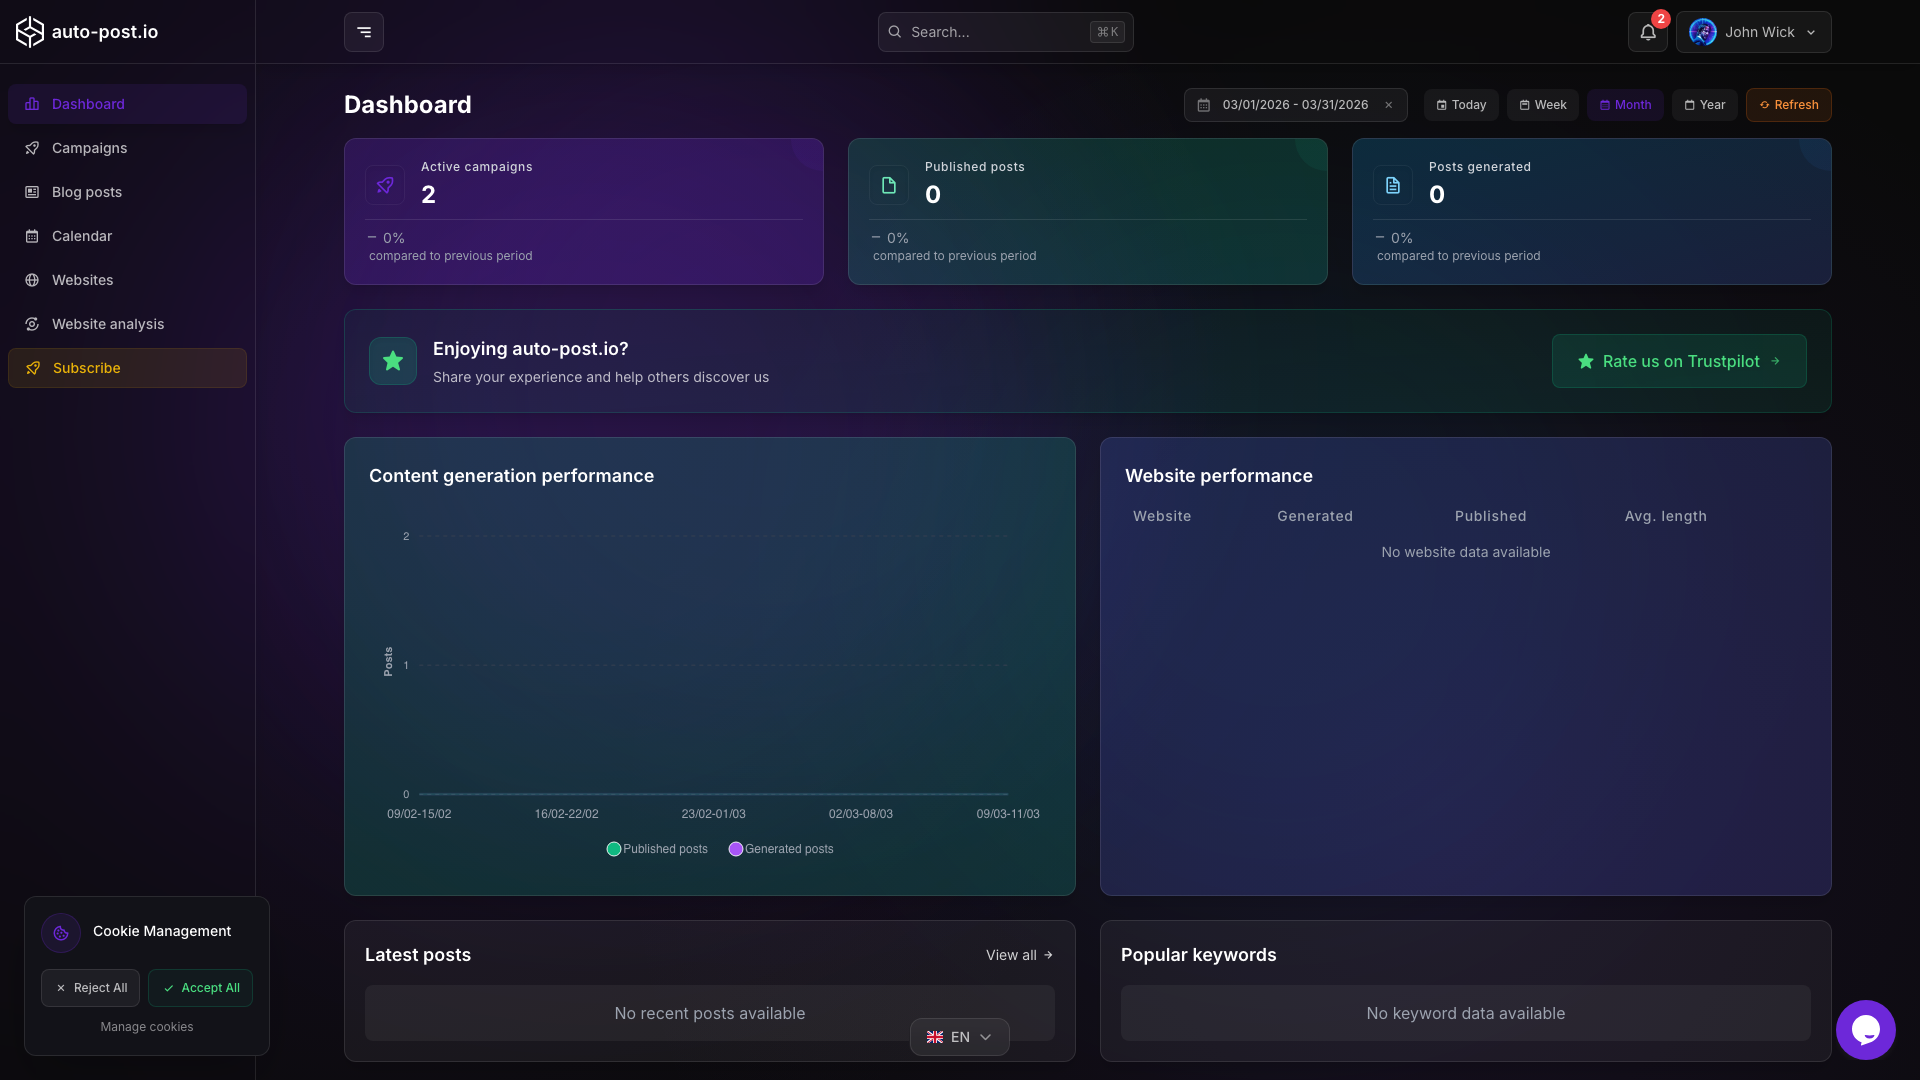
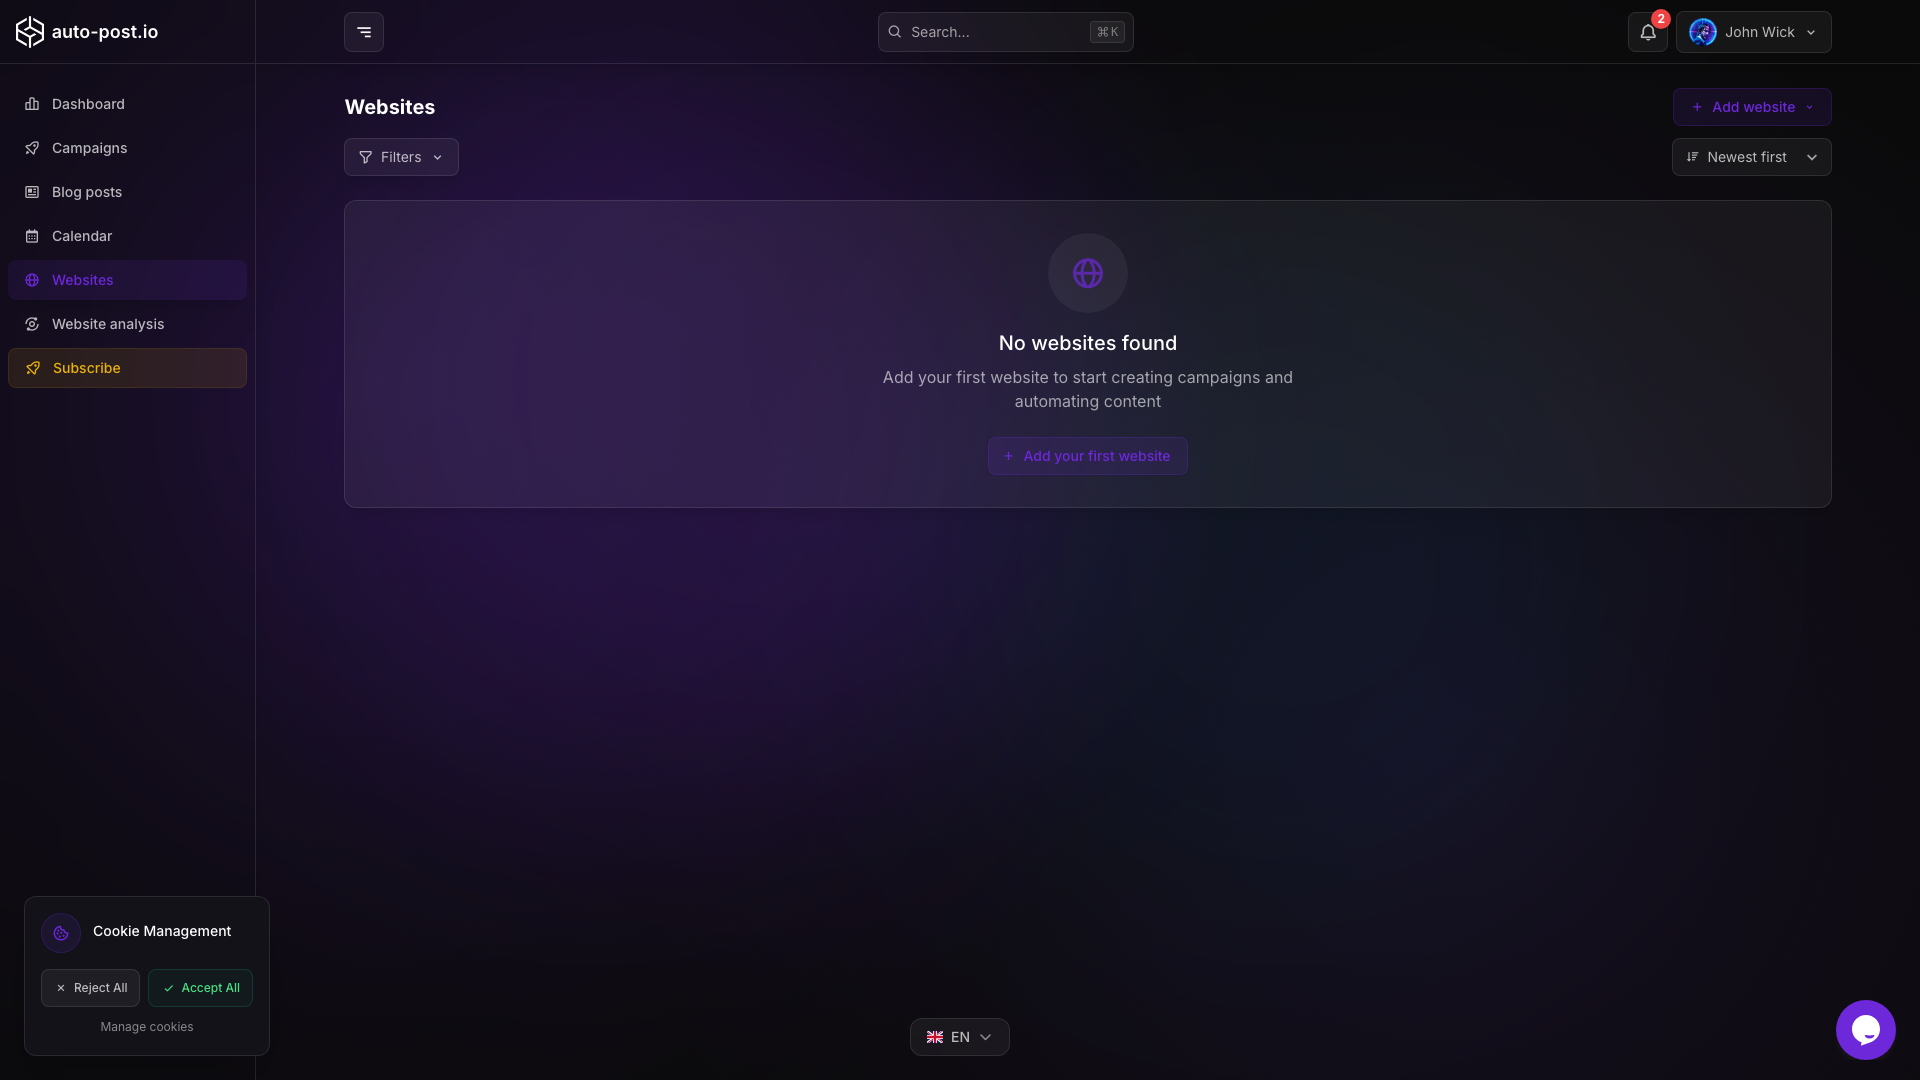
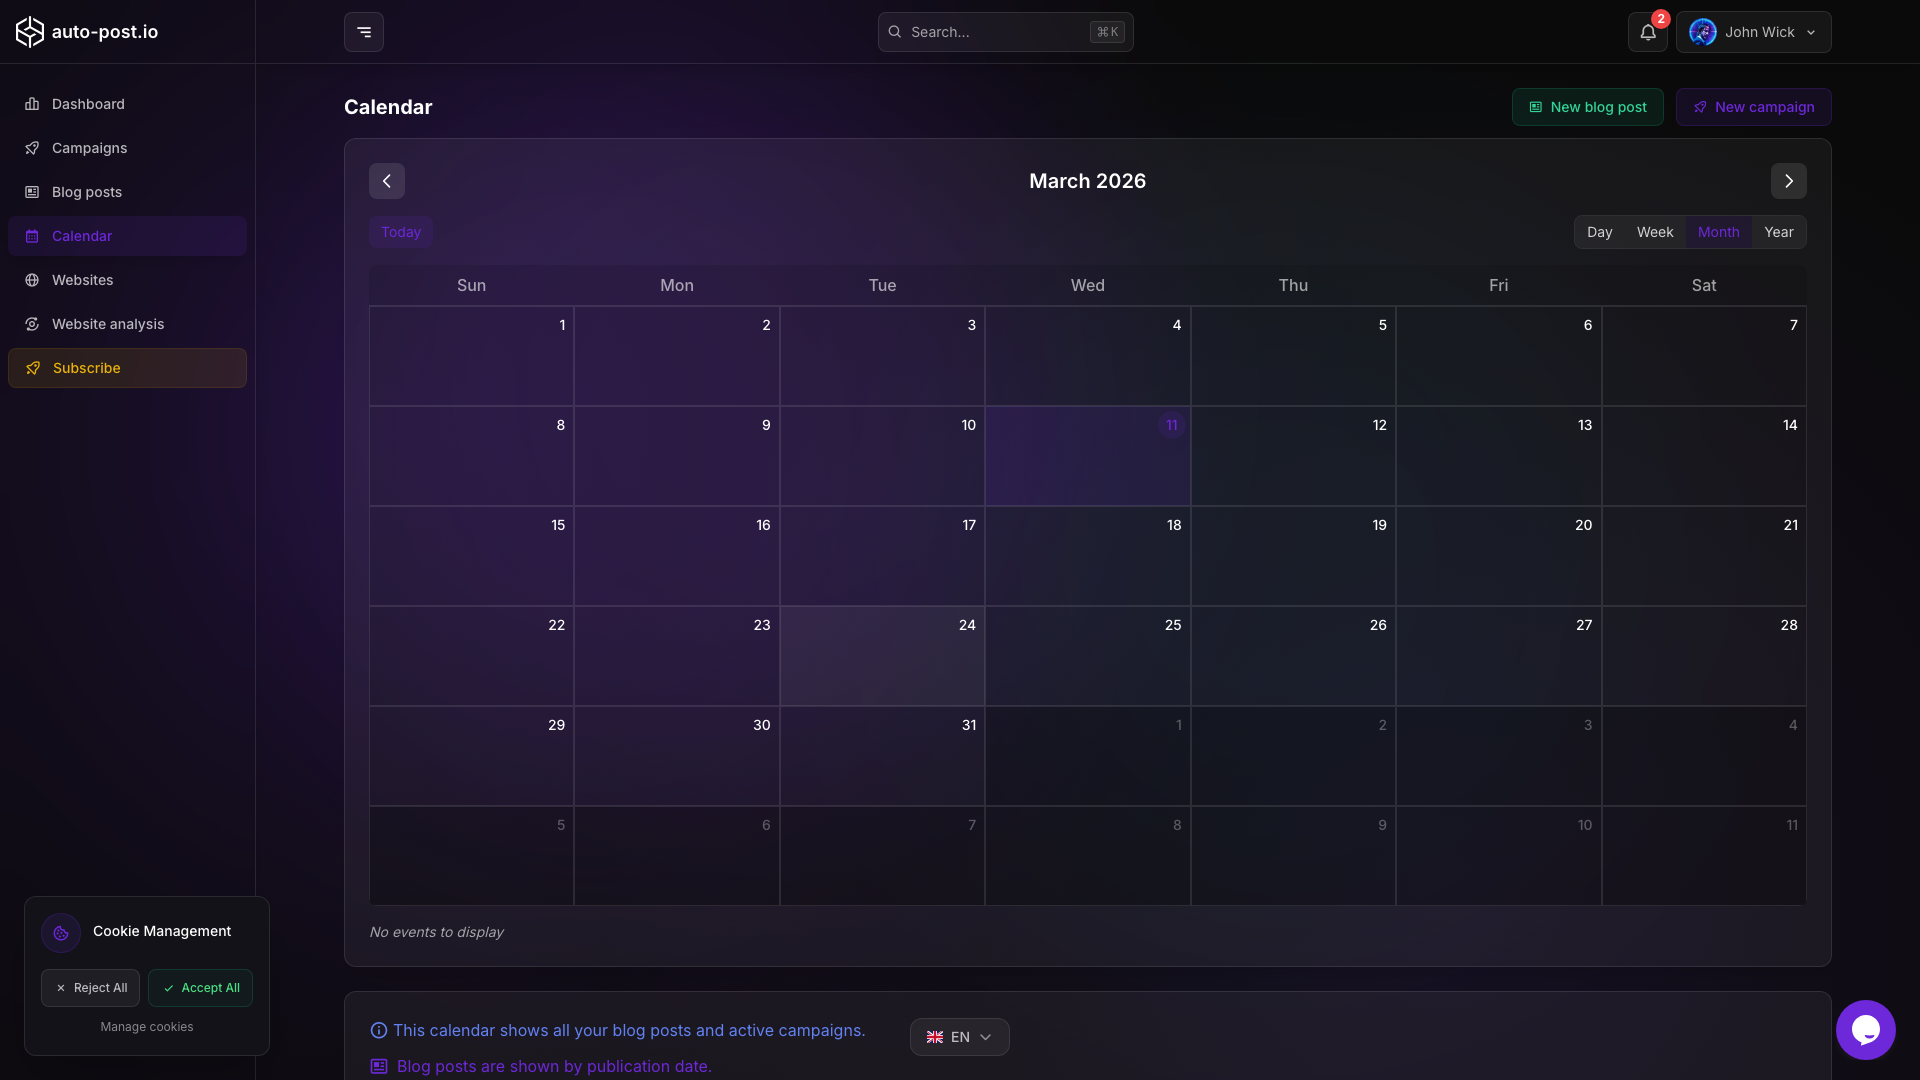
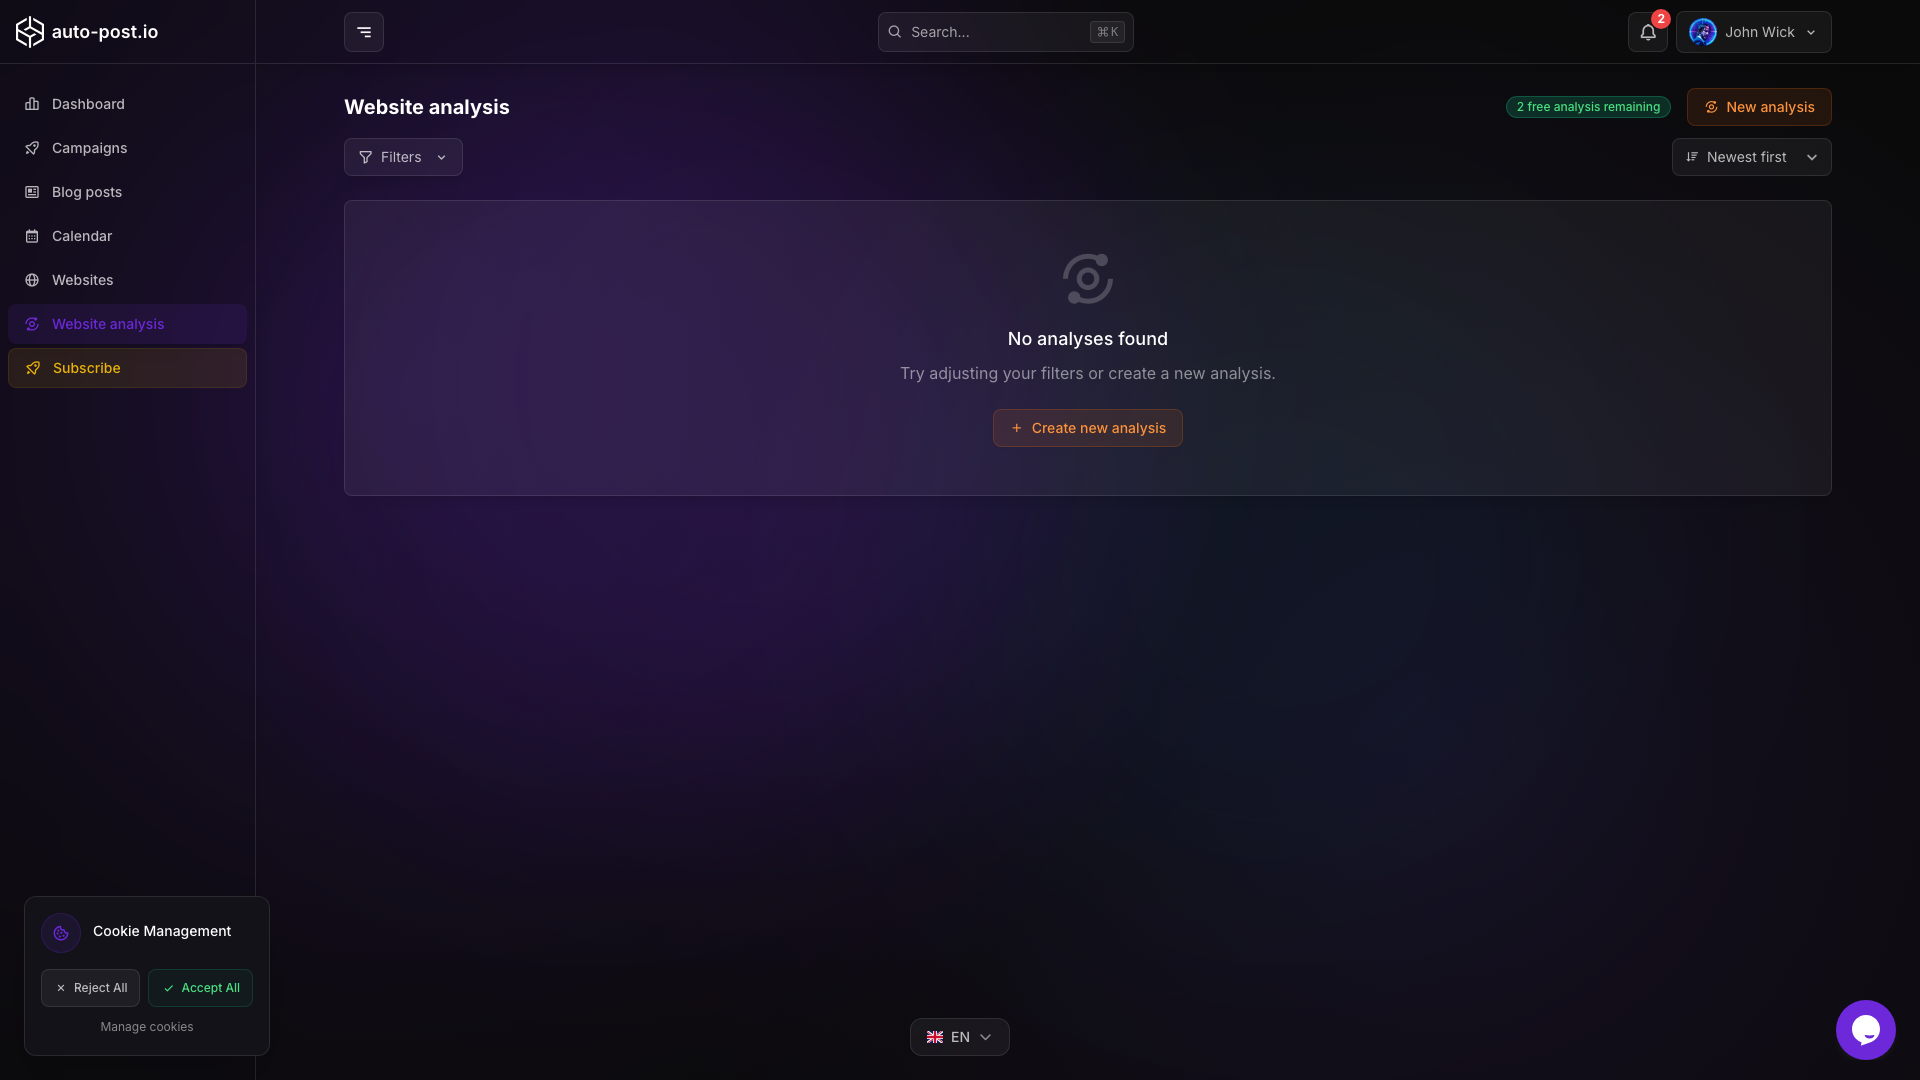
App pages overview
After logging in, you have access to these pages in the auto-post.io app:
| Page | URL | Description |
|---|---|---|
| Dashboard | app/ | Main overview with content statistics, recent activity, and quick actions |
| Blog posts | app/blog_post/ | Create, edit, and manage AI-generated blog posts before publishing |
| Campaigns | app/campaign/ | Configure and run content automation campaigns (keywords, schedule, AI model) |
| Calendar | app/calendar/ | Visual content calendar for scheduling and viewing planned publications |
| Websites | app/website/ | Manage connected websites (WordPress, Wix, Webflow) and their integration settings |
| Website Analysis | app/website-analysis/ | AI-powered SEO analysis to generate keyword ideas and campaign suggestions from a URL |
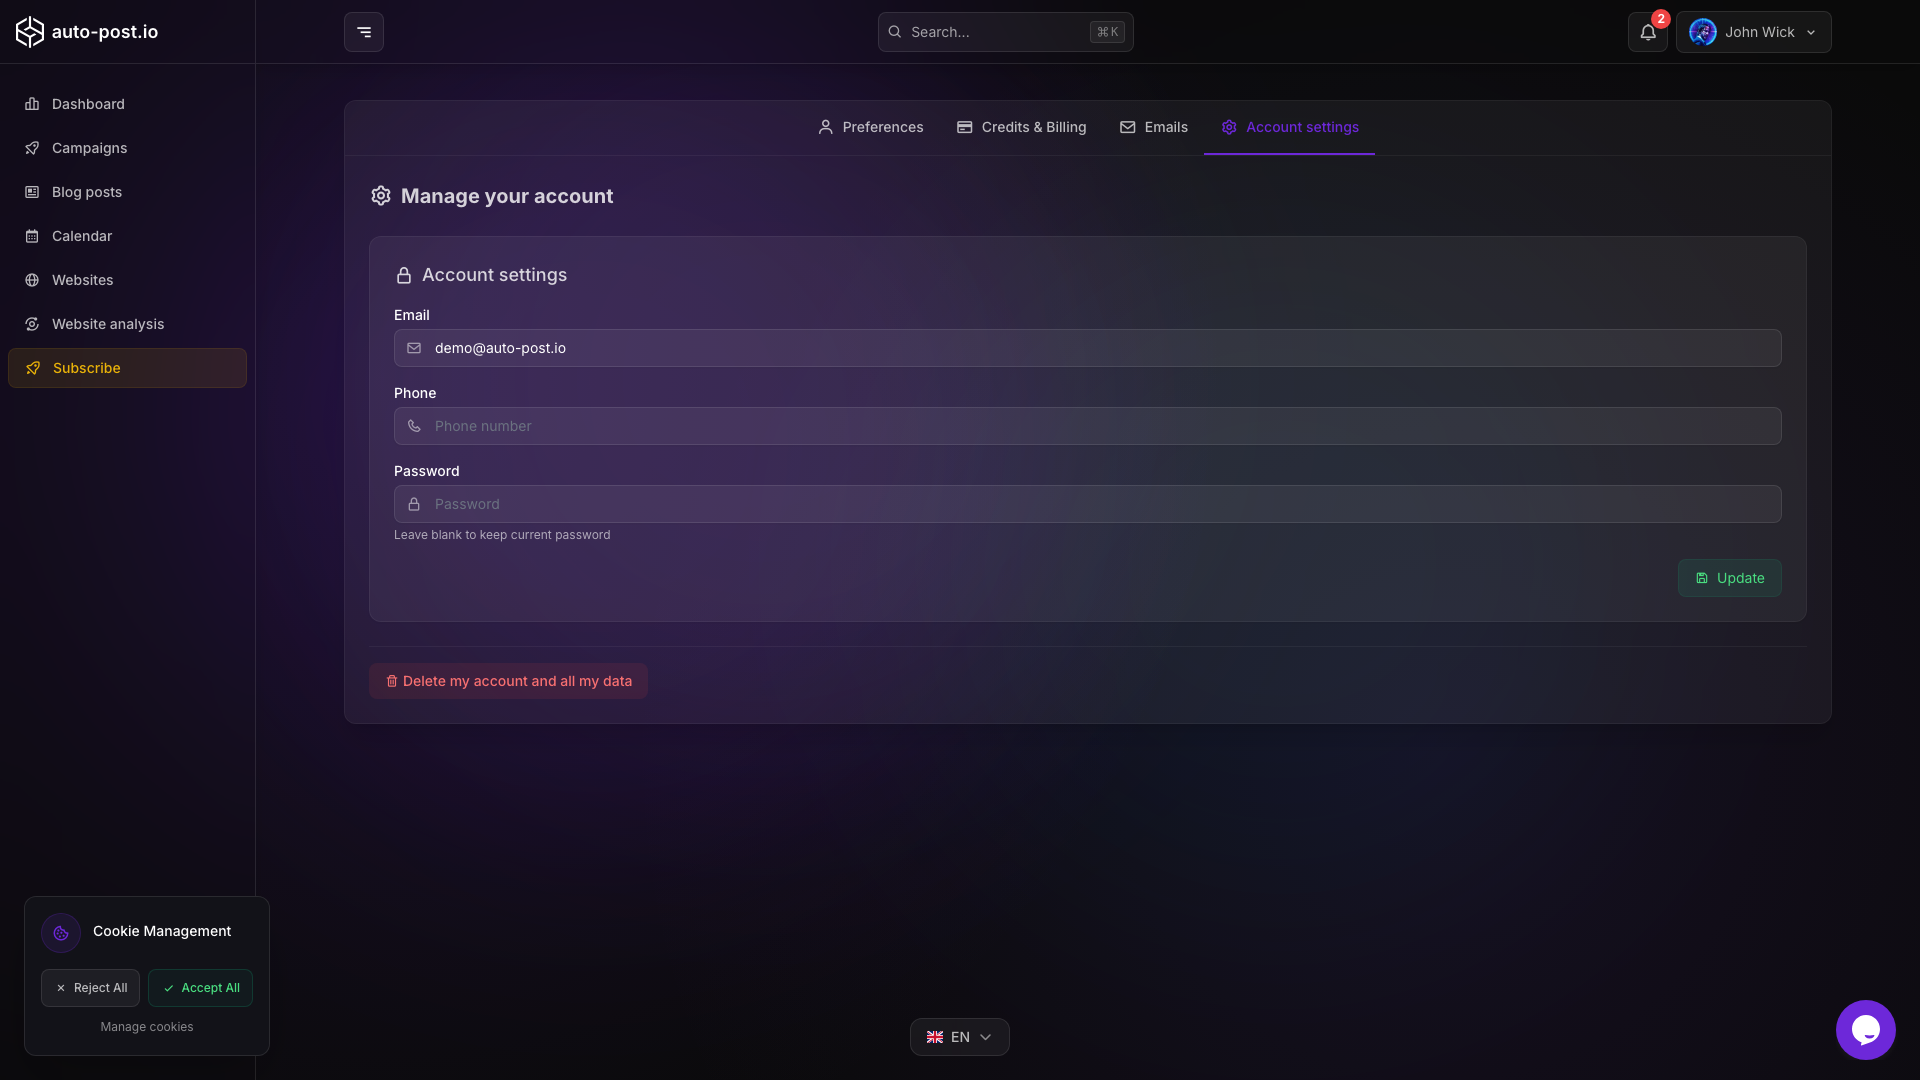
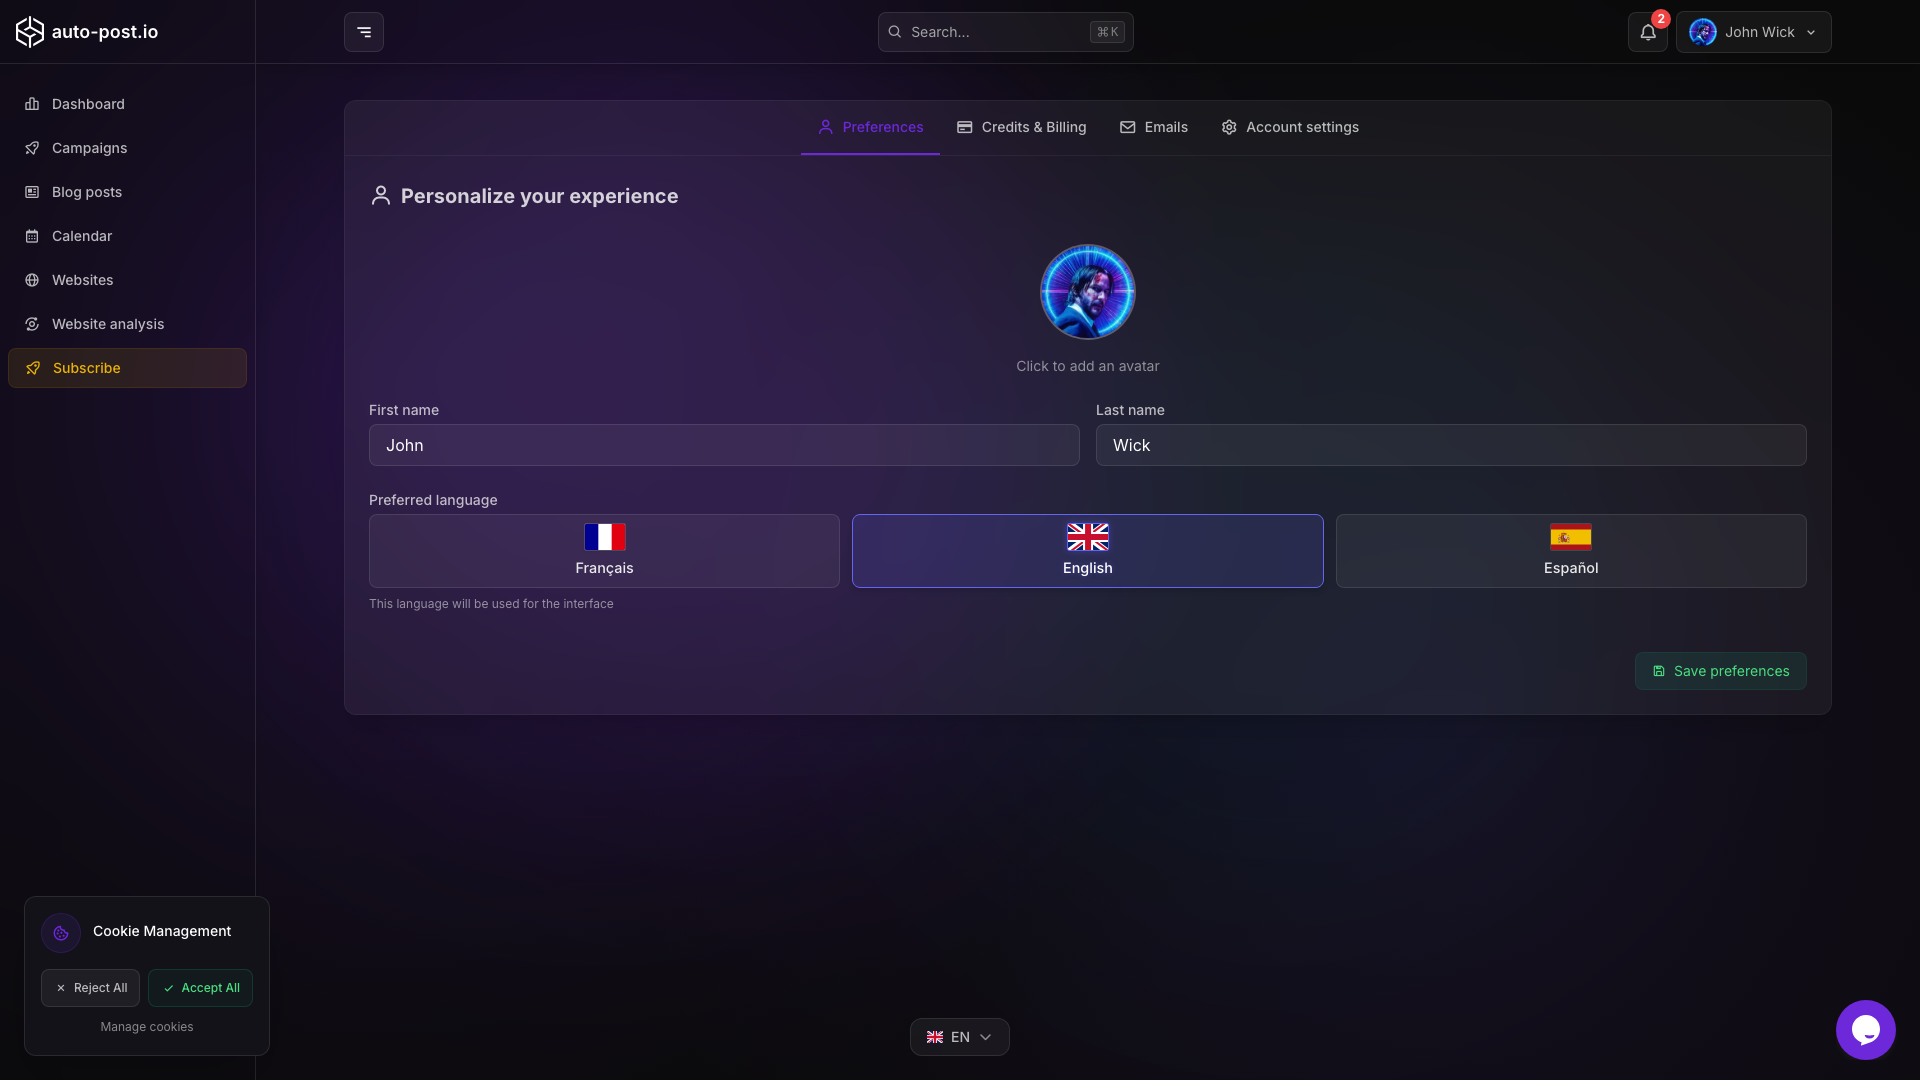
| Account settings | app/account/settings | Profile, preferences, and account management |
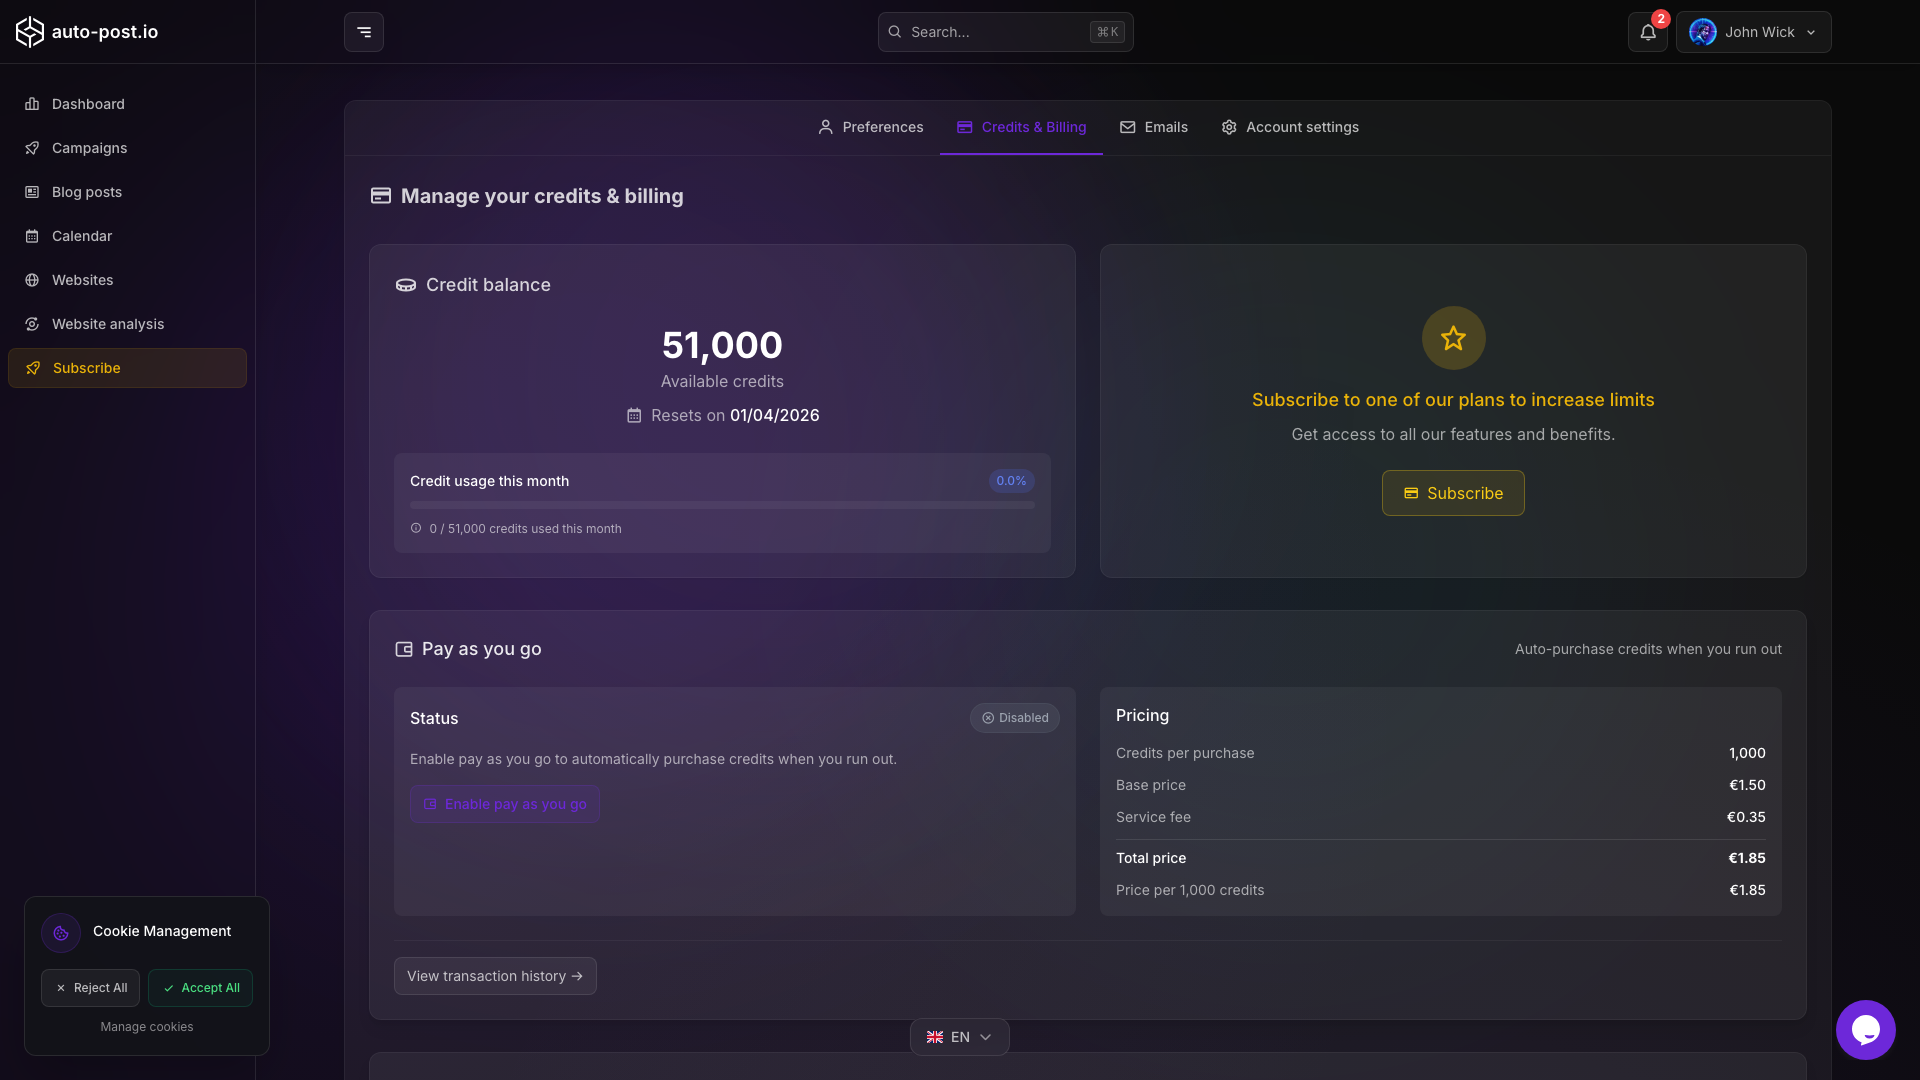
| Account billing | app/account/billing | Manage subscription, payment methods, invoices, and pay-as-you-go credits |
| Notifications | app/notifications | Email preferences, weekly digest, and notification settings |
| Subscribe | subscribe/ | Upgrade or change subscription plan |
Next steps
- Connect a website: WordPress, Wix, or Webflow
- Create your first campaign: Create a campaign
- Generate content: Use the Blog posts page to create and publish AI-generated articles
TIP
Check out our Pricing & credits page for plan details and credits usage.